NuxtJs Modernize
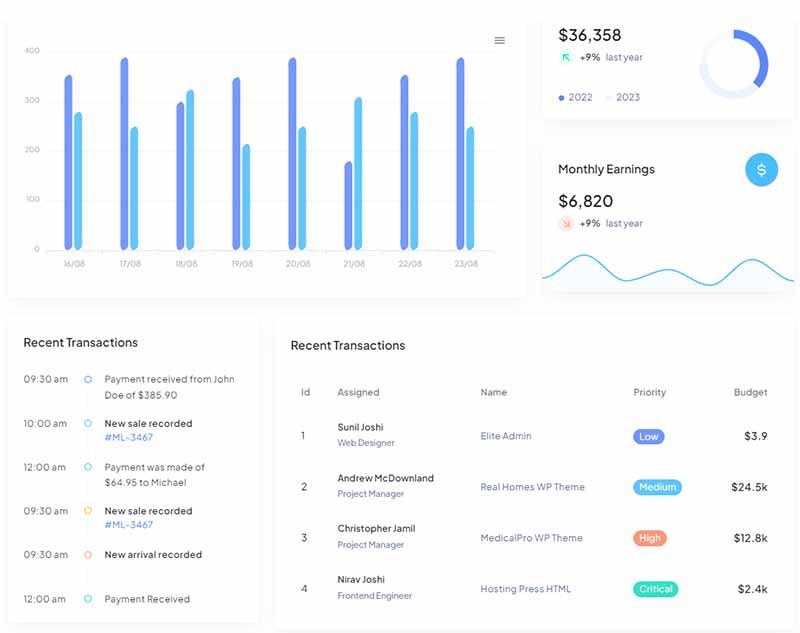
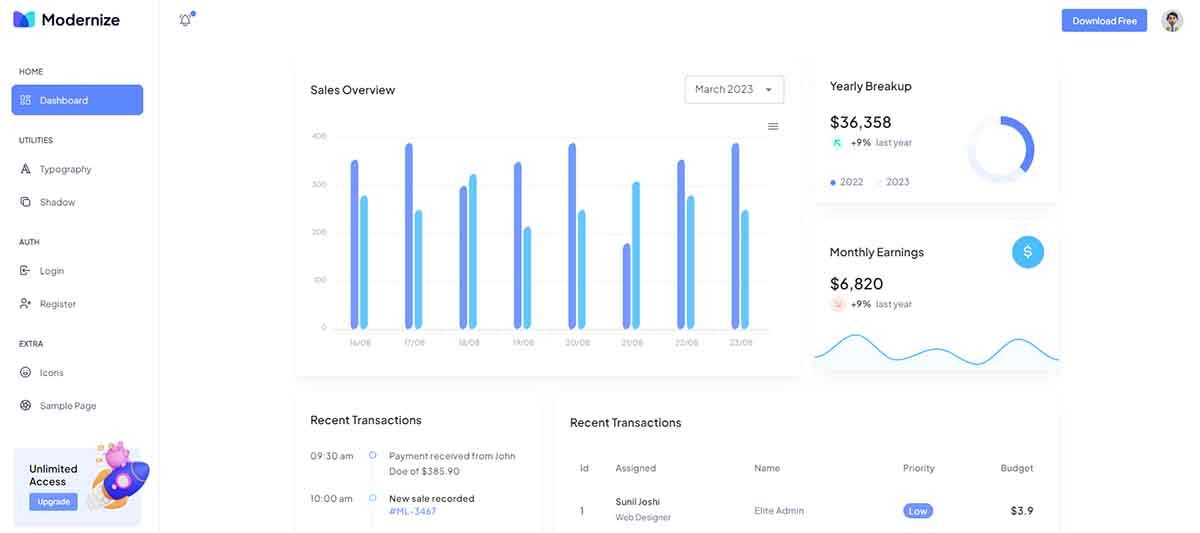
Open-Source Nuxt Starter crafted by AdminMart agency on top of Modernize Design.

Hello! This article presents Modernize, an open-source starter powered by NuxtJS. For newcomers, Nuxt.js is a popular framework for building Vue.js applications, and it's known for its simplicity and powerful features. Thanks for reading!
- 👉 Modernize NuxtJs - product page
- 👉 More Freebies provided by
AdminMart

Modernize Free Vuetify 3 Vuejs Admin Dashboard Template that has everything you require to develop an amazing web app. It has a very simple sleek design which will give your next project a professional and engaging look. Here are the core features:
- ✅ NuxtJs 3
- ✅ Vitejs
- ✅ Typescript base
- ✅ vuetify 3+
- ✅ Code Splitting
- ✅ Google Fonts
- ✅ One-Click Deploy on Netlify
This free Nuxt3 admin template is developer-friendly, highly customizable, and very easy to use. It allows you to create web apps in no time without any hassle so what else would you need.

For those new to Nuxt, here is a short introduction to this leading framework for Vue.
✅ What is Nuxt.js
Nuxt.js is a high-level framework for building server-rendered Vue.js applications. It takes care of the configuration and structure of your Vue.js projects, allowing you to focus on writing code and building your application. Here are some key features of Nuxt.js:
- Universal (Isomorphic) Applications: Nuxt.js allows you to create applications that can be rendered both on the server and the client. This improves performance and SEO, as search engines can index your content.
- Automatic Routing: Nuxt.js automatically generates routes for your pages based on the file structure of your project. This makes it easy to create a well-organized application.
- Server-Side Rendering (SSR): Nuxt.js provides server-side rendering out of the box, which enhances the initial load time and improves SEO. You can also choose to use client-side rendering if needed.
- Vue.js Integration: Nuxt.js is built on top of Vue.js, so if you're familiar with Vue, you'll find it easy to work with Nuxt.
- Plugins and Modules: Nuxt.js has a plugin system that allows you to easily extend its functionality with third-party modules. It also has a rich ecosystem of modules for various purposes.
✅ Setting Up Nuxt.js
To get started with Nuxt.js, you'll need Node.js installed on your system. Then, you can create a Nuxt.js project using the Vue CLI. Here are the steps:
- Install Vue CLI:If you haven't already, you can install the Vue CLI globally using npm or yarn:
- Create a Nuxt.js Project:Use the Vue CLI to create a new Nuxt.js project. Replace "my-nuxt-app" with your project's name:During the project setup, you can select Nuxt.js as a preset.
- Run Your Nuxt.js App:Once your project is set up, navigate to the project folder and start the development server:Your Nuxt.js app will be available at
http://localhost:3000.
✅ Folder Structure
Nuxt.js uses a specific folder structure that helps you organize your code effectively:
assets: Contains your uncompiled assets like CSS, images, or fonts.components: Houses your Vue components.layouts: Provides the layout templates for your pages.pages: Automatically generates routes and contains your application's pages.plugins: Contains JavaScript plugins you want to run before mounting the root Vue.js application.static: Holds static files that won't go through Webpack compilation.store: For managing your Vuex store.
✅ Nuxt.js Code Samples
Here are a few code samples to demonstrate some basic concepts in Nuxt.js:
1. Creating a Page
In Nuxt.js, you can create pages by adding Vue files in the pages directory. For example, create a file named about.vue in the pages directory with the following content:
<template>
  <div>
    <h1>About Us</h1>
    <p>We are a Nuxt.js beginner.</p>
  </div>
</template>
This creates a new page at the route /about.
2. Using a Layout
You can define a layout in the layouts directory and use it for your pages. For example, create a file named default.vue in the layouts directory:
<template>
<div>
<header>
<h1>My Nuxt App</h1>
</header>
<main>
<nuxt />
</main>
<footer>
© 2023 My Nuxt App
</footer>
</div>
</template>
To use this layout, add a layout property to your page component:
<script>
export default {
  layout: 'default'
}
</script>
3. Fetching Data
Nuxt.js allows you to fetch data on the server or the client. You can use the asyncData method in your page components to fetch data on the server-side:
<script>
export default {
  async asyncData({ params }) {
    const { id } = params;
    const response = await fetch(`https://api.example.com/posts/${id}`);
    const data = await response.json();

    return { post: data };
  },
  data() {
    return {
      post: {}
    };
  }
}
</script>
This code fetches data from an API and makes it available in your component.
These are just some basic concepts to get you started with Nuxt.js. As you become more familiar with the framework, you can explore its advanced features, routing, middleware, and more. Nuxt.js has excellent documentation that can provide more in-depth guidance as you progress in your learning journey.
✅ Resources
Thanks for reading! For more resources and support, feel free to access:
- 👉 Access AppSeed and start your next project
- 👉 Deploy Projects on Aws, Azure, and DO via DeployPRO
- 👉 Create landing pages with Simpllo, an open-source site builder
- 👉 Django App Generator - A 2nd generation App Builder
